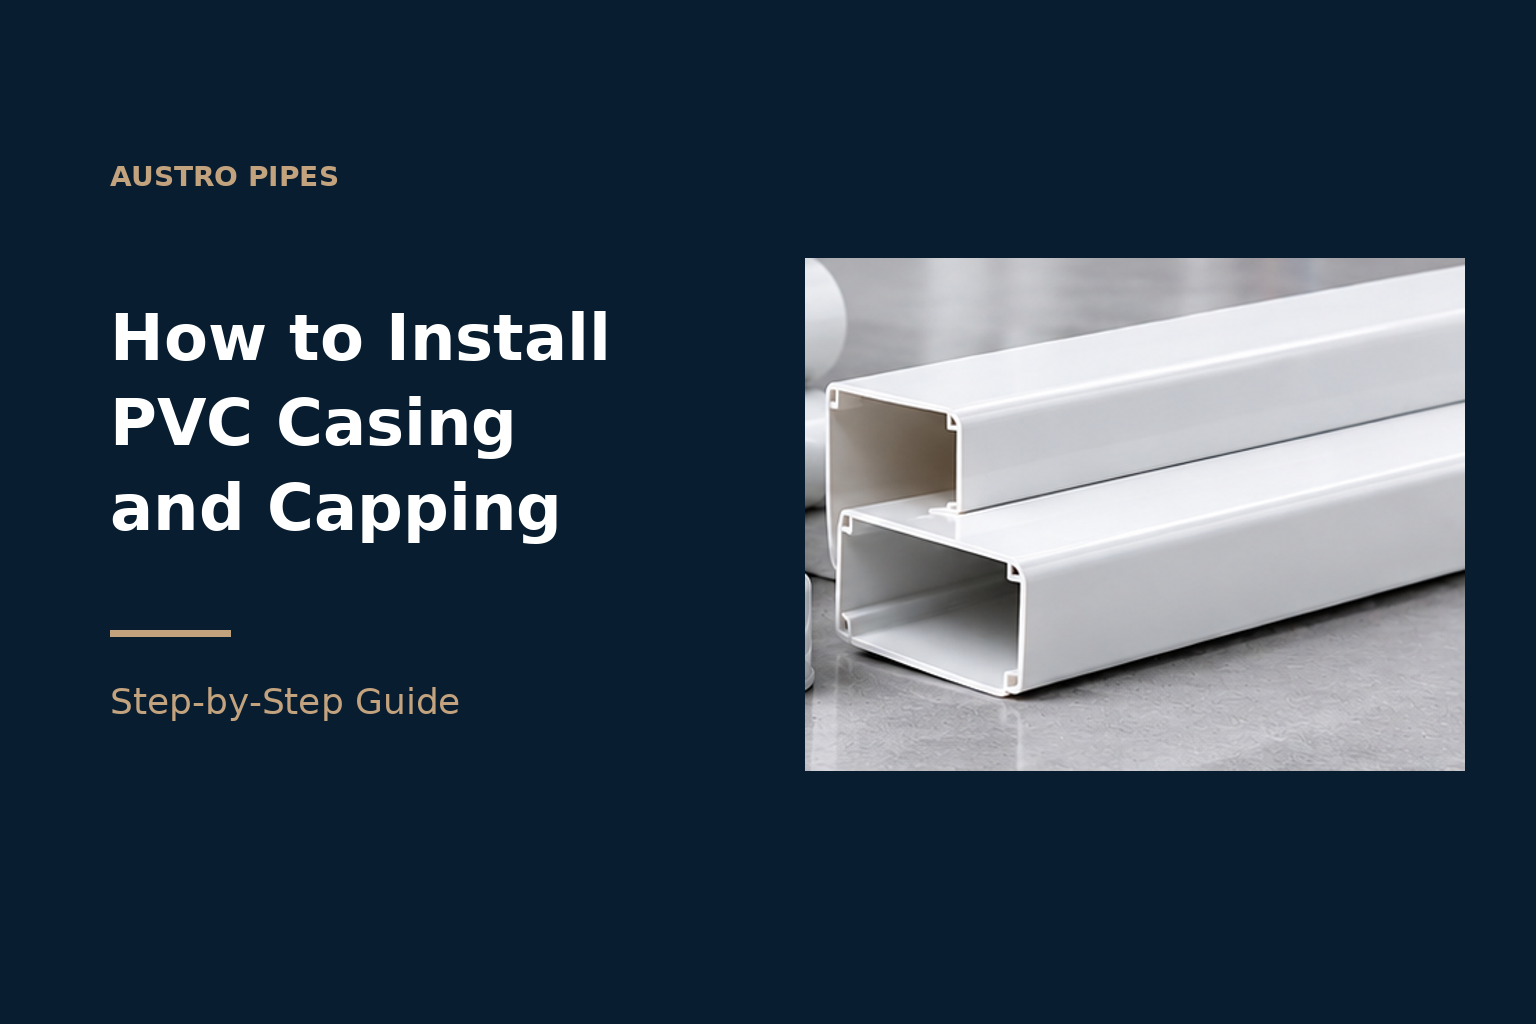
How to Install PVC Casing and Capping: Step-by-Step Guide
Introduction
A tidy electrical route is more than a cover over a bundle of wires. It needs firm fixing, clean joints, protected cable routes and a removable cover that can be inspected later. For installers looking for how to install PVC casing and capping, those details determine whether the finished work looks professional and remains practical to service.
This guide follows the route from product selection to final inspection, highlights the differences between casing and capping and conduit, and calls out the mistakes that can undermine an otherwise good installation. It is written for electricians, contractors and careful DIY renovators, while the electrical design and final testing remain the responsibility of a competent professional.
TL;DR / Quick Answer
For anyone asking how to install PVC casing and capping, the process is straightforward: plan the route, isolate the supply, measure and square-cut each section, fix the base securely, route insulated cables without kinks, align the removable cover, and inspect the complete run before testing. Use compatible components, follow applicable electrical requirements, and consult a qualified electrician where the installation is complex or uncertain.
What Is PVC Casing and Capping, and Why Use It for Electrical Wiring?
PVC casing and capping is a rigid, surface-mounted raceway used to organise and protect insulated electrical cables. Its base fixes to a wall or ceiling, while the removable capping covers the conductors and lets authorised electricians access the run without chasing every cable. This makes it useful for exposed wiring in residential, commercial and project environments where a neat finish is required but cutting walls for concealed conduit is undesirable. It is not a pressure pipe and should not be treated as a substitute for an approved conduit or an appropriate junction enclosure. The PVC Casing and Capping Wiring System is designed for this distinct surface-wiring role.
Unlike a loose bundle clipped to a surface, a complete casing-and-capping system creates a defined path, consistent support and a cover that can be removed for inspection. The cover does not replace correct cable selection, overcurrent protection, earthing or testing; it only encloses the wiring route. Install it only where the product’s intended use, the cable type and applicable electrical rules permit surface wiring. Before cutting, check the route for heat sources, moving parts, water, damaged plaster and sharp edges. Plan around doors, windows and access panels, and leave enough space at terminations for the cable to enter and leave without being pinched. A careful survey at this stage prevents the most expensive fault: fitting a system into a route that cannot be installed safely or serviced later. It also reduces the chance of having to reopen finished walls for maintenance or upgrades later.
Standard Size, Specifications, and Product Selection
Start by confirming the physical product rather than assuming that all casing and capping sets fit together. Austro’s Austro PVC Casing and Capping (1 meter length, 1.5 inch width, 0.8 inch thickness) is supplied in a defined standard size, so the installer should match the base, cover and any listed accessories to that system. Confirm the current dimensions and compatible components with the supplier before a bulk order, especially where drawings call for a specific profile. Check the pieces for cracks, warping, damaged ends or a cover that does not seat evenly. A straight, clean base and a captive, properly aligned cover are more important than forcing a mismatched part to fit. Verify that the cover retains correctly before any part is fixed to the substrate.
Quality checks at delivery prevent a small defect from becoming a repeated site problem. Check the material, dimensions and cover fit against the current product information. Ask for applicable test reports and written warranty terms instead of assuming that every profile carries the same rating. Actual performance depends on the installation environment, fixings, handling and exposure. Dealers, contractors and project buyers should obtain current commercial terms and samples before repeating a profile across buildings or project phases.
PVC Casing and Capping vs Conduit Pipe: Which to Choose?
The main choice is between a surface raceway and a pipe conduit. Casing and capping has a broad, removable lid that follows a straight wall or ceiling run, making access and visual neatness its priorities. PVC Electrical Conduit Pipes route cables through walls, slabs or other permitted concealed zones and use bends, sockets and fittings to negotiate changes in direction. Use conduit where the design requires a concealed route or where the cable path must pass through a built structure; use casing and capping where exposed, straight surface wiring is appropriate. Neither product should be selected solely by appearance: cable size, circuit loading, bend handling, support spacing, fire performance and local electrical rules govern the decision.
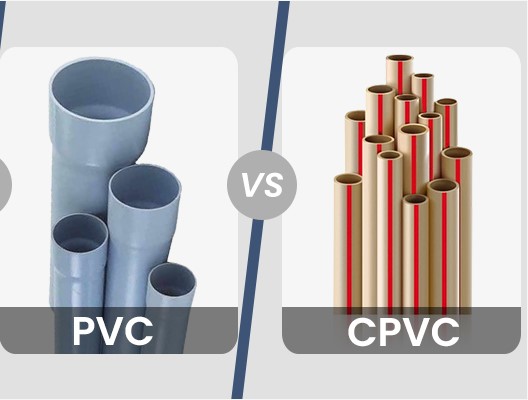
Other surface products can also be confused with casing and capping. A wiring channel may have a different depth and capacity from a casing profile, so neither should be treated as a universal substitute; compare the actual internal space, cover retention and compatible fittings rather than relying on the names. A junction box provides a separate enclosure for connections, terminations and branches, so it complements rather than replaces the casing run. PVC, UPVC and CPVC pipe categories also have different intended uses: CPVC is listed for hot- and cold-water systems, while UPVC serves plumbing and irrigation. They are not drop-in substitutes for a dedicated electrical casing system. The specification should identify the route, profile, accessories and fixing method as a complete assembly, and the supplier should confirm compatibility for the project before procurement begins.
Tools and Accessories Needed for Installation
A good installation starts with a compact tool kit: a tape measure and straightedge for accurate setting-out, a spirit level for level runs, a fine-tooth hacksaw or suitable PVC cutter for square cuts, a file or deburring tool, a marker, a drill or screwdriver matched to the fixing method, and clean cloths. PPE appropriate to the site should be used, and cables must be isolated, locked off and verified dead before work starts. The substrate matters: use anchors and screws suited to masonry, wood, metal or board rather than forcing a universal fixing into every surface. A pencil line, spacing marks and a spare offcut help keep the cover aligned.
The accessory list should be settled before the first cut. Use a PVC Junction Box where the design requires a dedicated enclosure for splices, device connections or branching, and select compatible box entries and covers rather than forcing cables through an unsuitable opening. At changes of direction, equipment connections or termination points, plan the transition early; do not expect the removable lid to compensate for a poorly planned joint. A modular metal junction box may be appropriate where the project specification calls for a metal enclosure. Have suitable end closures or manufacturer-approved finishing pieces available, keep small fixings in a closed container and protect the cover from paint or plaster damage until the electrical work is complete. The exact cutting tool matters: a blade intended for another material can chip or fracture the profile. Measure the finished opening, not just the wall length, because end allowances and accessory dimensions affect the usable run. If the route includes an outlet box, leave a service loop that can be dressed neatly without crowding the cover.
Step-by-Step Installation Guide: How to Install PVC Casing and Capping
1. Set out the route.
Mark the base line, check the substrate, confirm that no existing service conflicts with the fixings, and plan the termination points. Measure each finished length at several points, allow only the clearance required by the selected joints, and dry-fit before cutting.
2. Make the work safe.
Isolate the correct circuit, prevent re-energisation, verify the conductors are dead, and protect their ends. Cable selection, electrical design and final connections must comply with applicable requirements and be handled by a competent person.
3. Cut and prepare.
Support the profile, make a square cut with a suitable fine-tooth blade, remove burrs, and wipe the edges clean. Do not force a twisted or damaged length into place.
4. Fix the base.
Position it against the setting-out line, check level and alignment, and use anchors and screws suited to the wall or ceiling. Tighten only as far as needed; crushing or distorting the profile creates fitting problems later. Leave covers and junction-box access clear.
5. Route the cables.
Feed insulated conductors into the base without twisting or kinking them. Maintain a practical service loop at boxes and terminations, and do not force a bundle into undersized space.
6. Fit the capping.
Start at one end, align each cover with the base and engage it progressively along the run. If a cover resists, check for debris, a reversed part or an incompatible section rather than levering it.
7. Inspect and test.
Refit every removable piece, confirm that lids seat securely, remove swarf and sharp projections, and ensure no conductor is exposed or pinched. A qualified electrician should inspect and test the completed circuit before energisation and handover.
Maintenance, Durability, and Common Mistakes to Avoid
A casing-and-capping run should be inspected at handover and periodically thereafter. Check that covers remain firmly seated, fixings have not loosened, junctions are accessible and no cable has been trapped between the base and lid. Keep the system away from impact, excessive heat and direct sunlight where practical; PVC is durable but not indestructible or immune to every installation condition. Clean with a damp cloth and mild detergent, avoid harsh solvents and abrasive tools, and do not use the cover as a shelf. Where access is limited, record photographs of the completed route before covers are fitted; they help later fault investigation and handover. If impact exposes a conductor, creates a sharp edge or changes the route, isolate the affected circuit and arrange inspection before touching it.
The most common installation mistakes are predictable: cutting without support, leaving burrs, overtightening screws, using fixings that cannot hold in the substrate, mixing profiles, forcing covers, routing cables beyond their intended bend or fill limits, and energising the circuit before a final inspection. A checklist prevents these errors: verify the route before fixing; inspect each length; confirm accessory compatibility; keep joints accessible; check alignment; and document the final route and test records for the client. Request current written product and warranty terms, including project-specific conditions, before close-out or handover.
Expert Insights: Safer, Faster Surface-Wiring Work
The most useful upgrade is not a more complex accessory; it is better information before installation. On a multi-unit residential, commercial or industrial project, a simple material schedule can record the profile, component codes, colours, accessory types and fixing assumptions for each area. A scaled route sketch then helps the installer order correct quantities, avoid mismatched covers and expose junctions too late. Standardising one verified system across a floor or building also makes future inspection and replacement easier. This approach is particularly valuable for dealers and project buyers because it reduces returns and site delays without requiring Austro Pipes to publish a fixed retail price; current dealer, bulk and project terms are confirmed through a quotation.
Surface wiring is most successful when it is treated as a designed service rather than an improvised cover. At the specification stage, compare route visibility, access for maintenance, available space around equipment and the installation environment. Reject details that place the run across heat sources, exposed moving parts or areas likely to suffer impact. During procurement, request current specifications and sample pieces, verify lot consistency and keep the manufacturer’s or supplier’s technical literature with the project records. Consistent documentation and communication matter as much as the physical profile. Keep the technical information and handover record available for future maintenance.
Conclusion
Installing PVC casing and capping is manageable when the route, component compatibility and electrical safety are settled before the first cut. Measure accurately, cut square, fix to the correct substrate, protect the conductors, fit the cover without force, and complete a documented inspection before energising. The small checks that prevent trapped cables, loose covers and mismatched parts are the same checks that make the finished system easier to maintain.
For dealer, distributor or bulk requirements, Buy PVC Casing and Capping at Austro Pipes, email info@austropipes.com or call +91 99495 04930. Austro Plastic Industries LLP is based at Shed No. 64 A&B, Road No. 28, IDA Mallapur, Hyderabad-500076 and accepts enquiries across India.
FAQs
How to install PVC casing and capping?
Mark the route, isolate the circuit, measure and square-cut the base, fix it securely, route the cables, fit the capping, and inspect the work. Have a qualified electrician verify connections and final testing.
Can PVC casing and capping replace electrical conduit?
No. Use casing and capping for permitted exposed surface routes and conduit where the design requires a concealed path. Confirm the choice against the electrical design and applicable requirements.
Can casing and capping be installed outdoors or in damp areas?
Only where the specified system is approved for that environment. Keep ordinary casing away from dampness, direct sunlight and excessive heat, and use an outdoor-rated system when required.
What size is Austro Pipes PVC casing and capping?
Austro Pipes lists a 1 meter length, 1.5-inch width and 0.8-inch thickness. Confirm current specifications and compatible accessories before ordering for a project or bulk requirement.
Why does the cover not close properly?
Check for swarf, a reversed cover, a damaged or mismatched profile, and an over-tightened base. Do not force the capping; correct the fit and confirm that the cover engages evenly.
Does Austro Pipes publish fixed prices?
No. Pricing varies by product, size, quantity and commercial terms. Request a current quotation for dealer, bulk or project pricing.