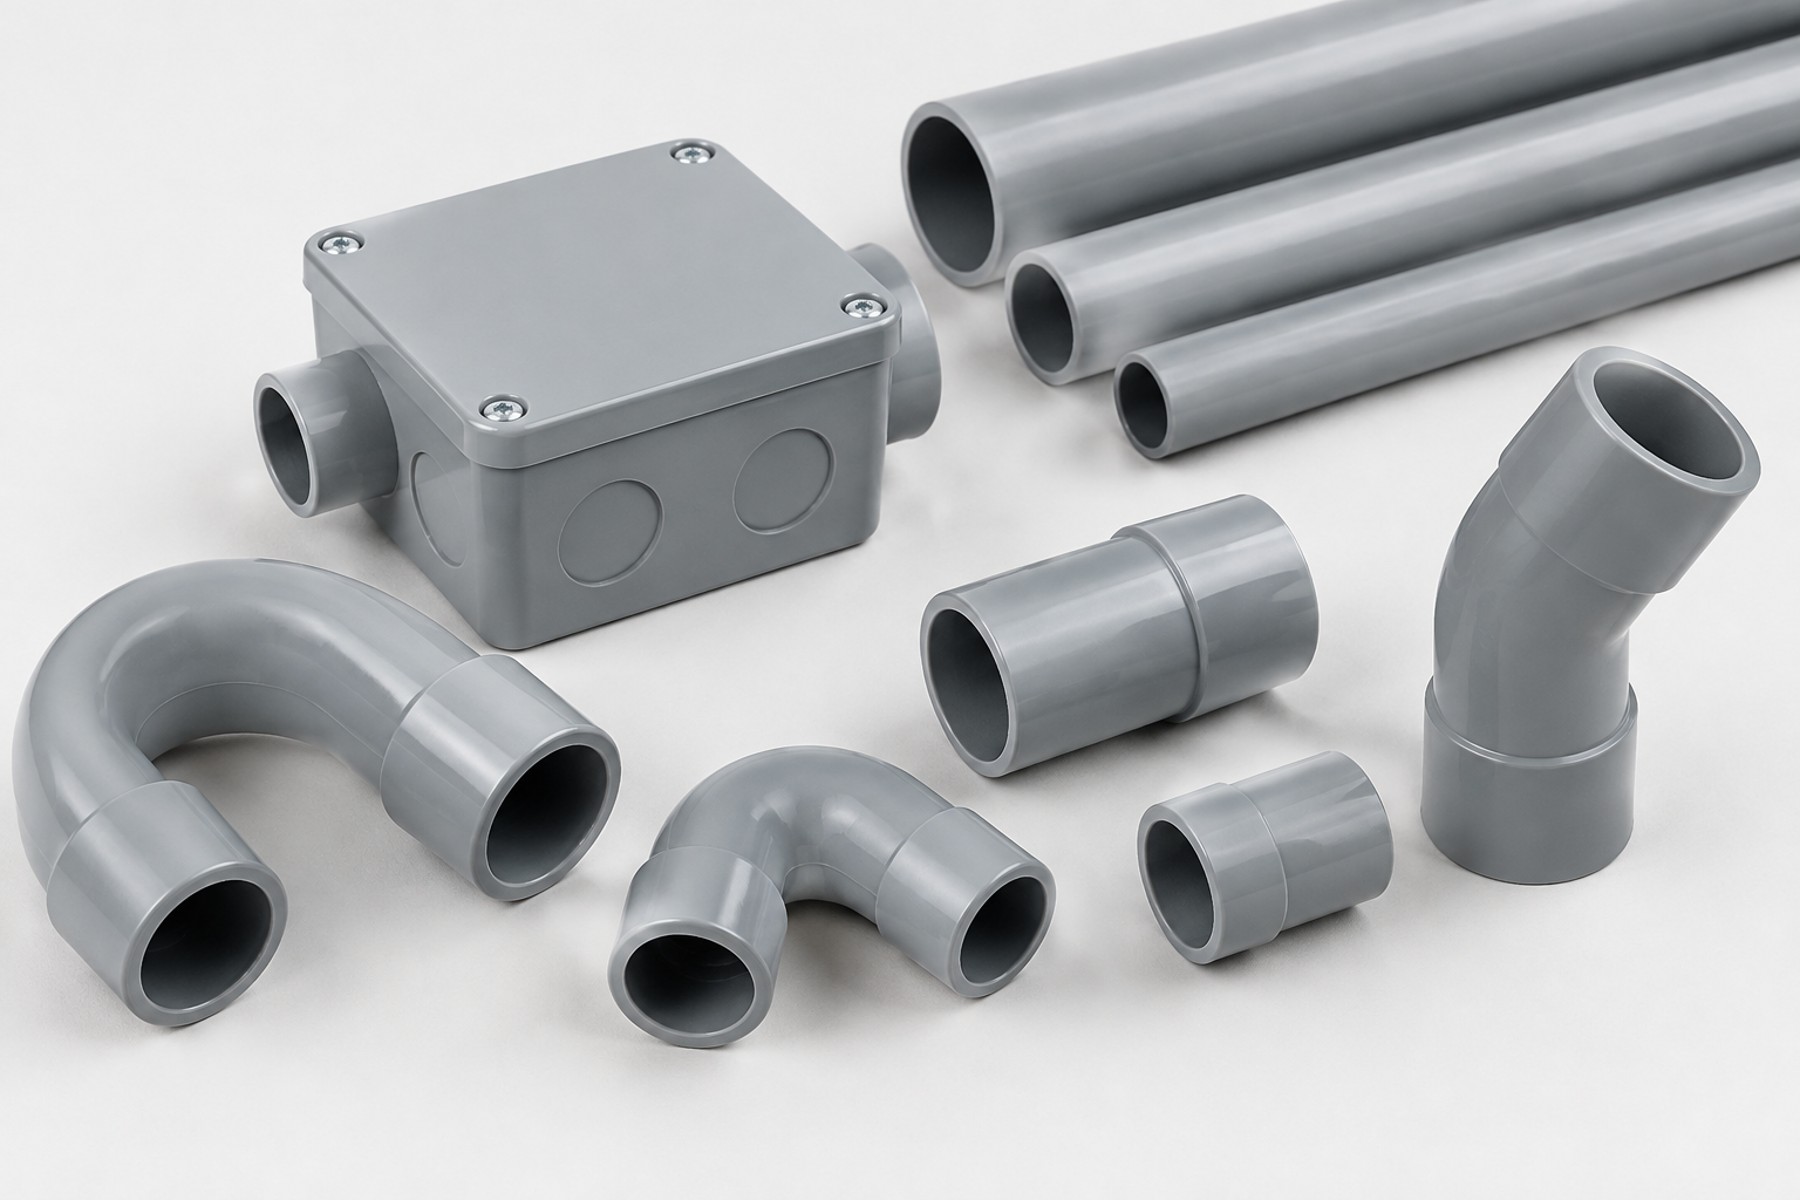
Electrical Conduit Pipe: Types, Sizes and Installation Guide
An electrical conduit pipe protects the wiring inside walls and ceilings from damage, moisture and heat. Picking the right type, size and accessories, and installing them correctly, makes a wiring system safer and easier to service later. This guide covers the main conduit types, the standard they follow, accessories, installation steps and common mistakes.
What Is an Electrical Conduit Pipe?
An electrical conduit pipe is a hollow tube through which insulated electrical wires are routed inside a building’s structure. Its primary purpose is to protect the wiring from moisture, physical impact, chemical exposure, and — most critically — to contain any electrical fault so that sparks or heat do not reach surrounding building materials.
Without a conduit, wires run through plaster or directly along surfaces are vulnerable to nail punctures, rodent damage, and water seepage. Over time, insulation degrades and short circuits become far more likely. A properly specified electrical conduit pipe helps reduce these risks by giving the wiring a protective, non-conductive pathway.
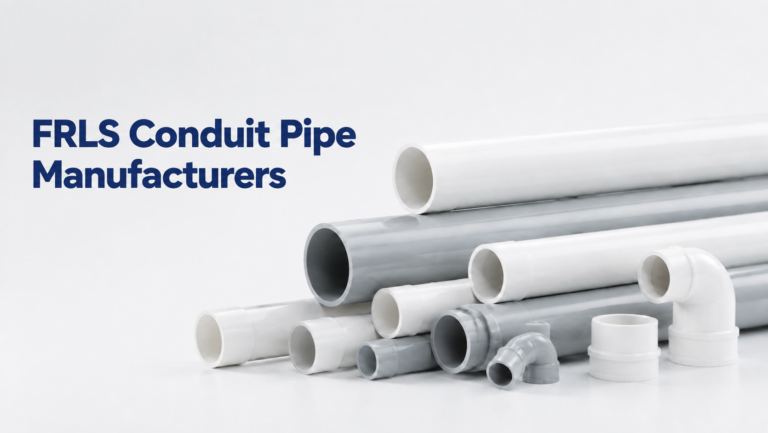
Types of Electrical Conduit Pipes: PVC, FRLS, Rigid & Flexible
Not all conduit pipes perform the same way. The type you choose should match the building type, installation environment, and fire-risk profile. Here are the main categories available in the Indian market.
Flexible PVC Conduits are used where rigid pipes cannot follow a curved path — inside false ceilings, around corners in retrofit projects, or through machinery connections. They are corrugated in design and typically rated for Light mechanical stress.
ISI Standards for Electrical Conduit Pipes — IS 9537 Part 3 Explained
IS 9537 (Part 3) covers rigid PVC conduits, and conduits are tested against it for properties such as resistance to burning. Look for the ISI Mark and ask the manufacturer for the relevant test details. This is a laboratory test, not a marketing claim.
Conduits are further classified by mechanical stress resistance:
| Classification | Typical Use | Wall Thickness |
|---|---|---|
| Light | Concealed wiring in partition walls | Thinnest |
| Medium | Standard concealed wiring in residential walls | Moderate |
| Heavy | Exposed, industrial, or underground installations | Thickest |
Nominal sizes range from 16 mm to 63 mm, with 20 mm and 25 mm being the most common for household circuits.
Conduit Pipe vs Casing & Capping vs PVC Channels
For surface wiring — where running wires inside walls is not practical — Indian electricians commonly choose between three PVC-based solutions: conduit pipes, casing and capping systems, and PVC channels. Each serves a different purpose, and understanding the differences prevents costly mis-specification.
Here is a quick comparison:
| Feature | Conduit Pipe | Casing & Capping | PVC Channel |
|---|---|---|---|
| Installation | Concealed in walls | Surface-mounted | Surface-mounted |
| Use Case | New construction | Retrofit wiring | Commercial/office |
| Wire Access | Requires opening wall | Remove capping cover | Open/clip access |
| ISI Standard | IS 9537 Part 3 | Varies | Varies |
| Fire Safety | Self-extinguishing tested | Moderate | Moderate |
For any new residential project, conduit pipes remain the safest and most code-compliant choice. Casing-capping and channels are supplementary solutions for specific surface-wiring scenarios.
Essential Conduit Pipe Accessories: Junction Boxes, Elbows & Couplers
A conduit system is only as reliable as its weakest joint. Proper accessories ensure continuous mechanical protection, easy wire pulling, and safe connection points throughout the electrical layout.
Elbows and bends change the conduit’s direction — typically 90° for wall-to-ceiling transitions and 45° for gradual runs. Sharp bends make wire pulling difficult; keep the number of bends between two pulling points low, as the installation standard and the manufacturer advise.
Couplers join two straight conduit lengths in a run. They must be solvent-cemented (not merely pushed together) to maintain the conduit’s mechanical and fire-containment integrity.
Bushings and grommets protect wire insulation where conduits terminate at switch boxes or panel boards.
Saddles and clamps secure conduit runs to walls or ceilings at regular intervals — at regular intervals as given in the installation standard and the manufacturer’s guidance.
A well-designed accessory kit, sourced from a single manufacturer, ensures dimensional compatibility and consistent ISI compliance across the entire installation.
How to Install Electrical Conduit Pipe: Step-by-Step Guide
Proper installation determines whether a conduit system actually delivers the fire protection and wire longevity it promises. Here is the process electricians and contractors follow for concealed conduit wiring in new construction.
Step 1 — Layout and Marking. Mark the conduit route on walls and ceilings per the approved electrical drawing. Mark switch box, socket box, and junction box positions.
Step 2 — Chasing and Grooving. Cut grooves into the masonry wall along the marked route using a wall chaser or grinder. Groove depth should allow the conduit to sit flush with or slightly recessed from the wall surface, so plaster covers it completely.
Step 3 — Cutting and Dry-Fitting. Cut conduits to length using a pipe cutter or hacksaw. Deburr cut edges to prevent wire insulation damage. Dry-fit the entire run with elbows, couplers, and junction boxes before cementing.
Step 4 — Solvent Cementing. Apply PVC solvent cement to both the pipe exterior and the fitting interior. Insert and hold as the cement manufacturer advises, then allow the joint to cure for the time the manufacturer specifies before wire pulling. Never use adhesive tape or friction-fit joints — they fail under heat.
Step 5 — Securing and Wall Embedding. Fix conduits into grooves with saddles or clips at specified intervals. Cover with cement plaster, ensuring no sharp edges or gaps remain.
Common Mistakes to Avoid With Electrical Conduit Pipes
Too many bends. Too many bends between pulling points create excessive friction, risk wire insulation damage during pulling, and make future rewiring difficult.
Poor solvent cement practices. Skipping the cleaning step, using expired cement, or pulling wires before the joint has fully cured leads to joint failures under mechanical load or heat.
Ignoring fill ratios. Stuffing too many wires into a conduit raises operating temperatures, accelerates insulation degradation, and goes against the installation standard. Check the manufacturer’s guidance on how many wires a given conduit size can take.
FAQs
What is an electrical conduit pipe?
An electrical conduit pipe is a protective tube, typically made of rigid PVC, that houses and shields electrical wiring inside walls, ceilings, and floors. It protects wires from moisture, physical damage, and contains electrical faults to prevent fire spread.
What sizes do electrical conduit pipes come in?
IS 9537 (Part 3) covers nominal sizes from 16 mm to 63 mm. For residential wiring, 20 mm and 25 mm conduits in Medium or Heavy class are the most commonly specified sizes.
Can I use PVC conduit pipes for outdoor or underground wiring?
PVC conduits rated under Heavy mechanical stress class are suitable for underground and exposed installations. However, PVC is not inherently UV-resistant for prolonged outdoor exposure — protective measures such as painting or shielding are recommended.
For product details and enquiries, you can contact Austro Pipes through the website, austropipes.com. Always confirm specifications for your own project with a qualified plumber, electrician or engineer before you buy or install.